
I put this WordPress image SEO checklist together because clients kept asking me for “the list” after we’d go through image SEO one topic at a time — file names in one conversation, alt text in another, compression somewhere else. This pulls everything into a single, step-by-step workflow you can actually follow, in the order I’d use myself, whether you’re fixing an existing library or setting up a process for new uploads.
This WordPress image SEO checklist is a practical part of on-page SEO, covering key image optimization best practices like file naming, image compression, alt text, image placement, and Core Web Vitals. Follow this checklist to optimize images for SEO, improve page speed, and increase your chances of ranking in both Google Search and Google Images.
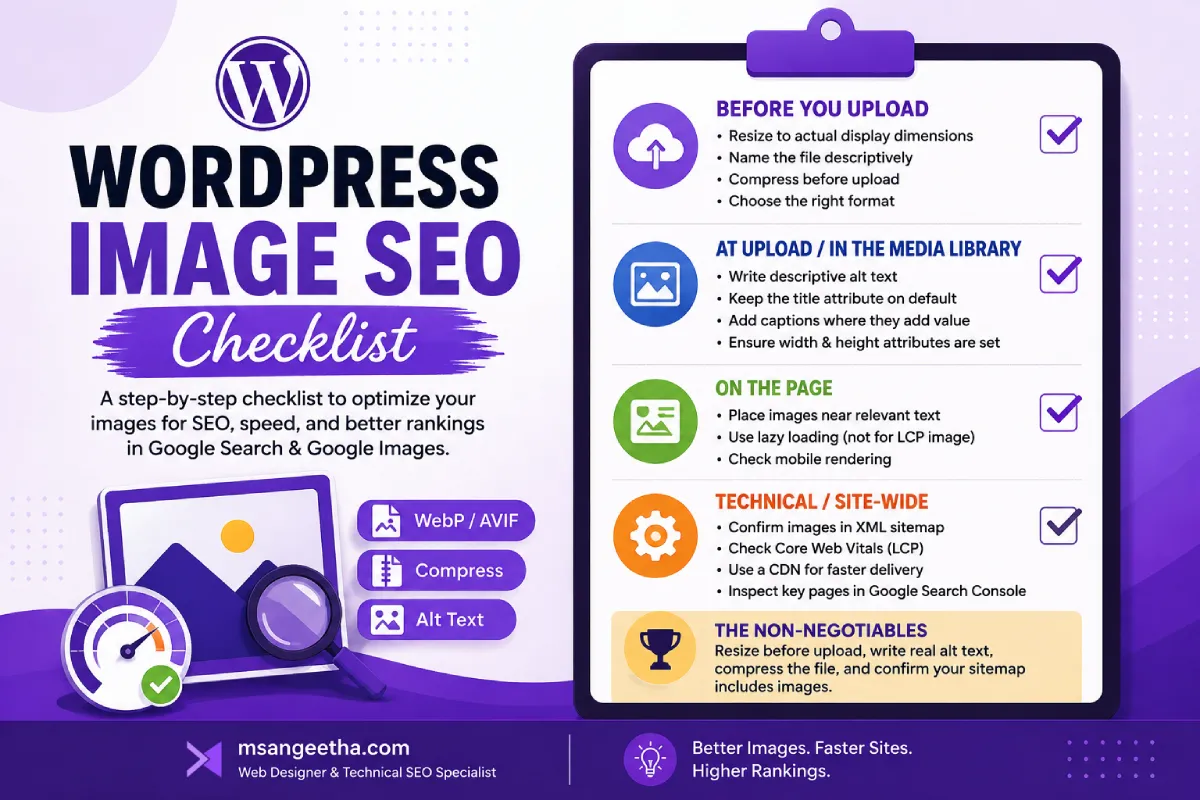
Before You Upload
- Resize to the actual display dimensions. Don’t upload a 4000px image to display at 800px — the browser still downloads the full file. Resize first.
- Name the file descriptively. Lowercase, hyphens, 3-5 words describing what’s in the image. Full detail in Image File Names for SEO.
- Compress before upload where possible, or immediately after via plugin. See ShortPixel vs Imagify vs Smush if you haven’t picked a compression plugin yet.
- Choose the right format. WebP or AVIF for photos, SVG for logos and icons, PNG only when you genuinely need transparency or lossless detail (screenshots with text, for example).
At Upload / In the Media Library
- Write alt text for every image that conveys information. Describe what’s actually in the image, not a keyword list. Full guide: How to Add Alt Text to Images in WordPress.
- Leave the title attribute on default unless you have a specific tooltip need — it carries minimal SEO weight. Details in Image Titles vs Alt Text vs Captions.
- Add a caption only where it adds real value — attribution, a detail worth calling out, or context a chart/screenshot needs.
- Set width and height attributes (WordPress does this automatically on upload through the block editor — verify it’s not being stripped by your theme or page builder).
- Ensure responsive image sizes are generated (srcset). WordPress automatically creates multiple sizes and serves the appropriate one via srcset. Avoid disabling this, and make sure your theme or builder isn’t forcing full-size images everywhere.
On the Page
- Place images near relevant text. Google uses surrounding content as context for what an image shows — an image floating in an unrelated section loses that signal.
- Use lazy loading for images below the fold, but not for your largest above-the-fold image (usually your LCP element) — lazy-loading that one can hurt load speed rather than help it.
- Check mobile rendering. An image that looks fine on desktop can overflow, crop awkwardly, or slow the page down disproportionately on mobile.
Common mistakes to avoid:
- Using the same alt text on every image
- Uploading screenshots as huge PNGs unnecessarily
- Lazy-loading your above-the-fold hero image
- Ignoring mobile image behavior
Technical / Site-Wide
- Confirm images are included in your XML sitemap. Most SEO plugins (Rank Math included) add an image sitemap automatically — verify it’s not disabled.
- Check Core Web Vitals for image-driven LCP issues. If your largest contentful paint element is an image, it’s usually the first place to look when LCP is slow. More in Core Web Vitals.
- Use a CDN if you’re not already. Reduces latency for image delivery, especially for visitors geographically distant from your server. Covered in WordPress Speed Optimization.
- Run Google Search Console’s URL Inspection tool on key image-heavy pages periodically to confirm Google can actually crawl and render your images.
Quick Reference: The Non-Negotiables
If you only have time for four things, do these: resize before upload, write real alt text, compress the file, and confirm your sitemap includes images. Everything else on this list compounds on top of those four.
Frequently Asked Questions
How often should I audit my image SEO?
Once a year for an established site is usually enough for a full sweep, plus spot-checks whenever you notice a page with slow LCP or low Google Images visibility.
Do I need to fix every image on an old site, or just new ones?
Prioritize by traffic and value — fix images on your highest-traffic pages and anything ranking or wanting to rank in Google Images first. A full historical cleanup is worth doing eventually, but it doesn’t need to happen before you start doing things correctly going forward.
Does image SEO actually move the needle, or is it a minor factor?
On its own, modest. Combined — file size affecting Core Web Vitals, alt text affecting accessibility and context, correct sitemap inclusion affecting Google Images visibility — it adds up to a meaningful, low-effort improvement most sites are leaving on the table.
Want a faster workflow? Bookmark this checklist or use it alongside your image upload process so every image is optimized before it goes live.